Isaac Sim Installation
We use Isaac Sim to train our models. NVIDIA Isaac Sim™, powered by Omniverse™, is a scalable robotics simulation application and synthetic data-generation tool that powers photorealistic, physically accurate virtual environments to develop, test, and manage AI-based robots.
Isaac Sim Setup
Setup AWS EC2 Instance
- Go to
us-east-1region, as this image runs flawless in that region. - From the AWS Console, create a new EC2 Instance,
- Next, go to the Application and OS Images (Amazon Machine Image) section and search for NVIDIA Omniverse.
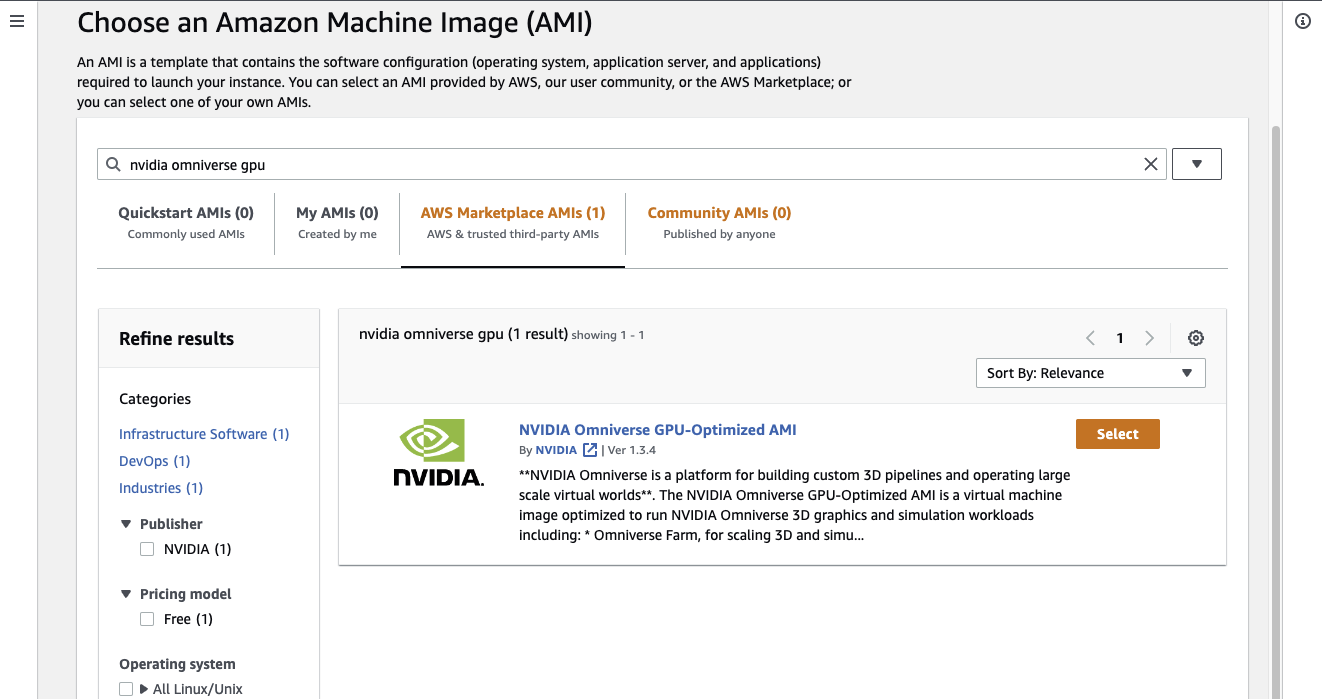
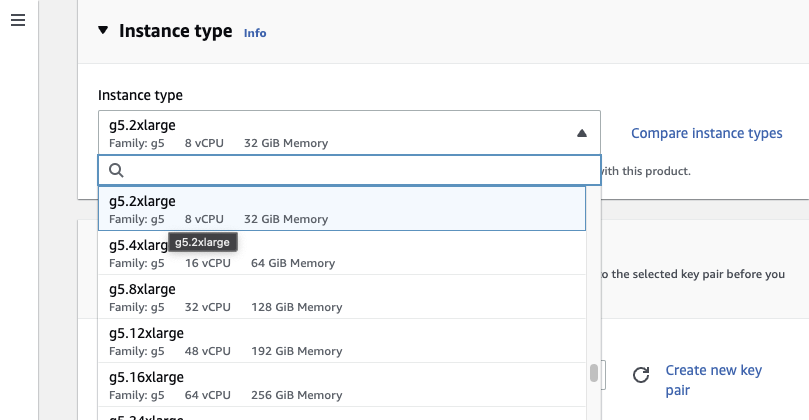
- Select the instance, the NVIDIA Omniverse recommends a
g5dn.2xlarge, with 8-core and 32gb Memory.
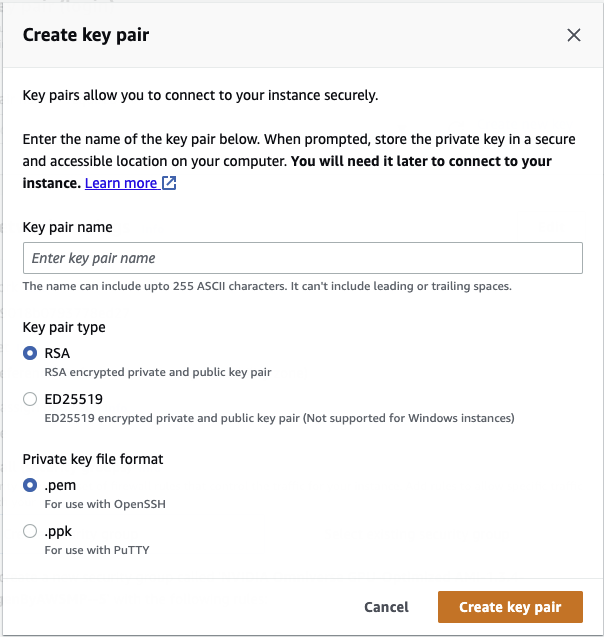
- Create a new KeyPair
- In the Network settings, click edit, and under the Inbound security groups rules, set the values as shown:

In the Configure storage section, set the Root volume size to 100GB or more.
and LAUNCH INSTANCE
Connect to EC2 Instance
- Now that the Instance is Launched, click on connect.
- On your desktop, go to the folder where the
KeyPaircreated initially in downloaded, and make it executable by
chmod 400 keypair.pem
- In the same folder, open terminal and connect to the EC2 instace via SSH by
ssh -i "keypair.pem" ubuntu@<dns>.compute-1.amazonaws.com
- This will connect your terminal to the AWS ec2 instance.
- Next, Pull the latest Isaac Sim container from the official
NVIDIA AWS ECR Galleryby
docker pull public.ecr.aws/l1t2k0k4/isaac-sim:2022.1.1
and run it
docker run --name isaac-sim --entrypoint bash -it --gpus all -e "ACCEPT_EULA=Y" --rm --network=host \
-v ~/docker/isaac-sim/cache/ov:/root/.cache/ov:rw \
-v ~/docker/isaac-sim/cache/pip:/root/.cache/pip:rw \
-v ~/docker/isaac-sim/cache/glcache:/root/.cache/nvidia/GLCache:rw \
-v ~/docker/isaac-sim/cache/computecache:/root/.nv/ComputeCache:rw \
-v ~/docker/isaac-sim/logs:/root/.nvidia-omniverse/logs:rw \
-v ~/docker/isaac-sim/config:/root/.nvidia-omniverse/config:rw \
-v ~/docker/isaac-sim/data:/root/.local/share/ov/data:rw \
-v ~/docker/isaac-sim/documents:/root/Documents:rw \
public.ecr.aws/l1t2k0k4/isaac-sim:2022.1.1
note
It is recommended to put the above docker run command into a bash file, making it easy to launch the next time. Follow the below steps
    touch isaac_sim_launch.bash
    nano isaac_sim_launch.bash

    docker run --name isaac-sim --entrypoint bash -it --gpus all -e "ACCEPT_EULA=Y" --rm --network=host \
    -v ~/docker/isaac-sim/cache/ov:/root/.cache/ov:rw \
    -v ~/docker/isaac-sim/cache/pip:/root/.cache/pip:rw \
    -v ~/docker/isaac-sim/cache/glcache:/root/.cache/nvidia/GLCache:rw \
    -v ~/docker/isaac-sim/cache/computecache:/root/.nv/ComputeCache:rw \
    -v ~/docker/isaac-sim/logs:/root/.nvidia-omniverse/logs:rw \
    -v ~/docker/isaac-sim/config:/root/.nvidia-omniverse/config:rw \
    -v ~/docker/isaac-sim/data:/root/.local/share/ov/data:rw \
    -v ~/docker/isaac-sim/documents:/root/Documents:rw \
    public.ecr.aws/l1t2k0k4/isaac-sim:2022.1.1
then
./runheadless.native.sh
The docker image, once initiated will give you the following message:
Isaac Sim Headless Native App is loaded.
This message confirms that the docker image is up and running.
Setup Omniverse
Install launcher
- Download the Omniverse Launcher. This will download
omniverse-launcher-linux.AppImage, make it an executable by
chmod a+x /path/to/omniverse-launcher-linux.AppImage
- Then install a few dependencies
sudo apt-get install fuse
- Now launch the app
    cd /path/to/omniverse-launcher-linux.AppImage
    ./omniverse-launcher-linux.AppImage
- This will first give a login screen, and then the app itself.
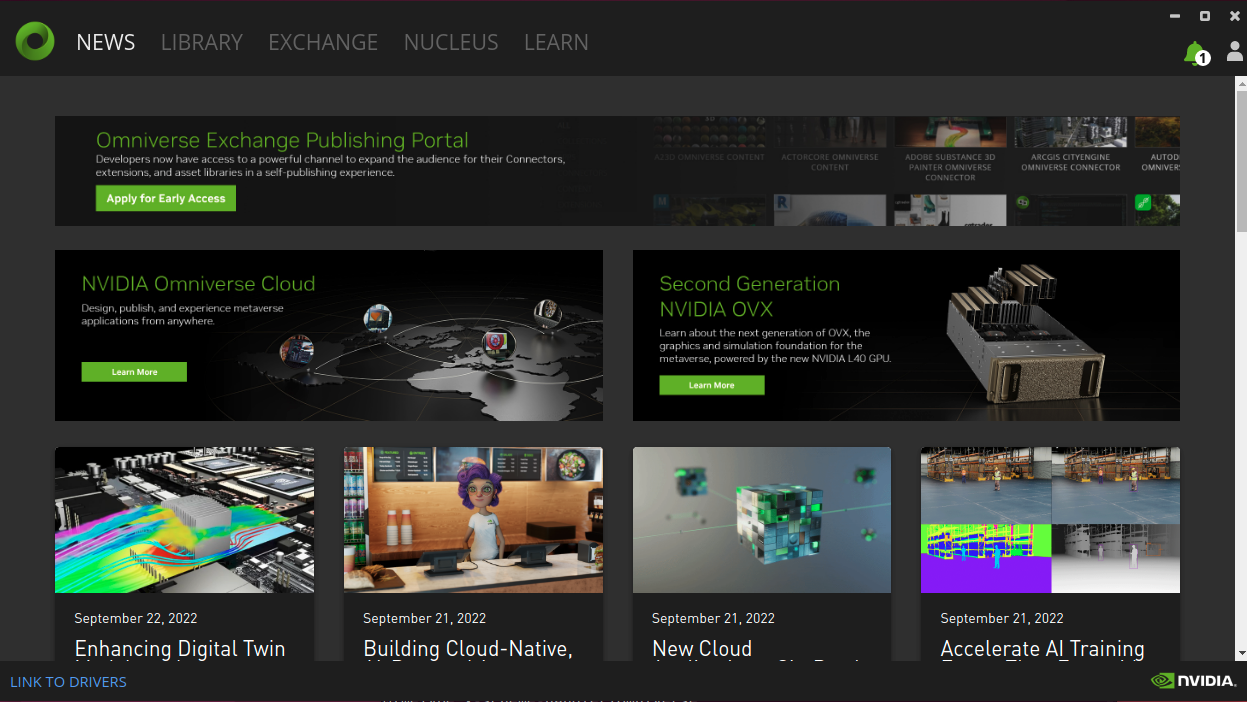
- Under the
Exchangetab, search and installOMNIVERSE STREAMING CLIENT.
Setup Client
- Once installed click on launch, this will pop up a dialog box asking for
Server AddressandResolution. The server address is the address to the machine that is running theSSH Clientor to theAWS Instance.
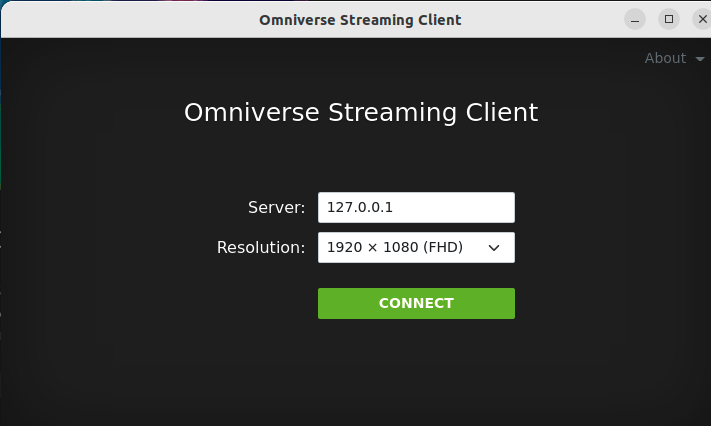
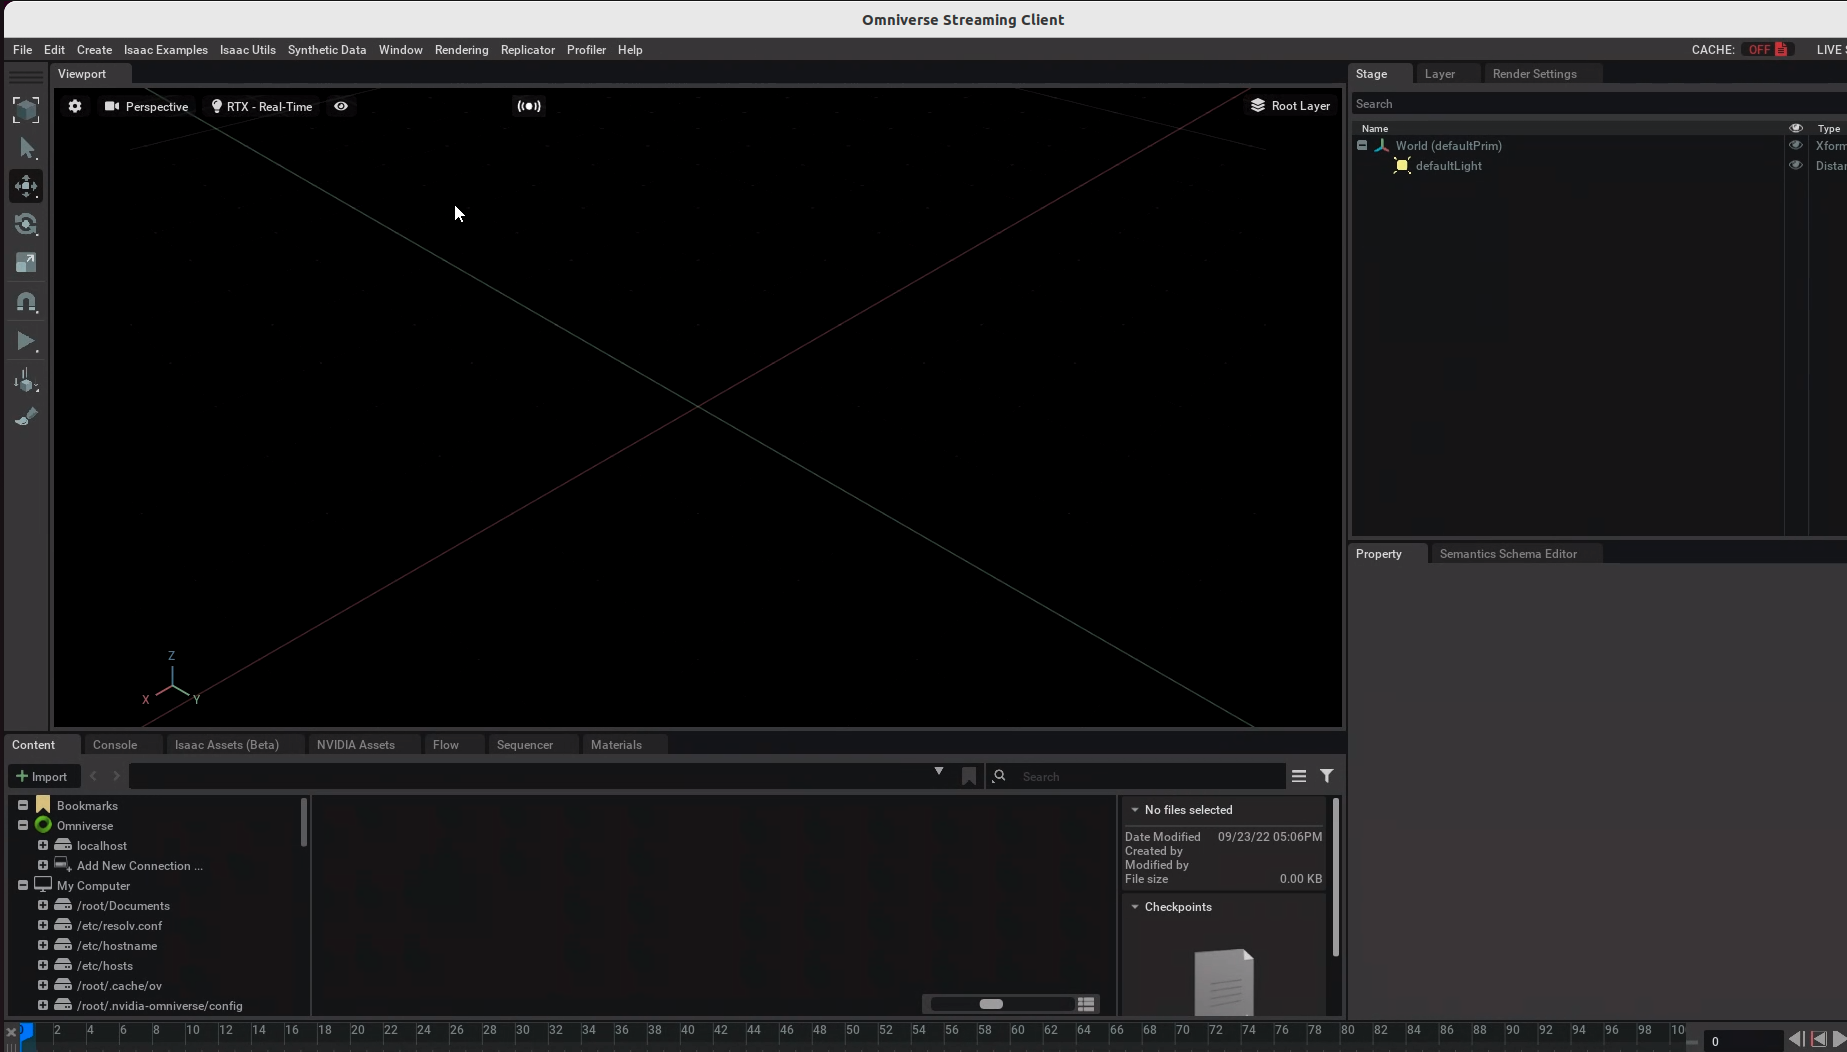
- Click on Connect, and this will launch your Isaac Sim Instance
Enabling ROS2 Bridge
In the streaming client, Go to
Window > Extensions
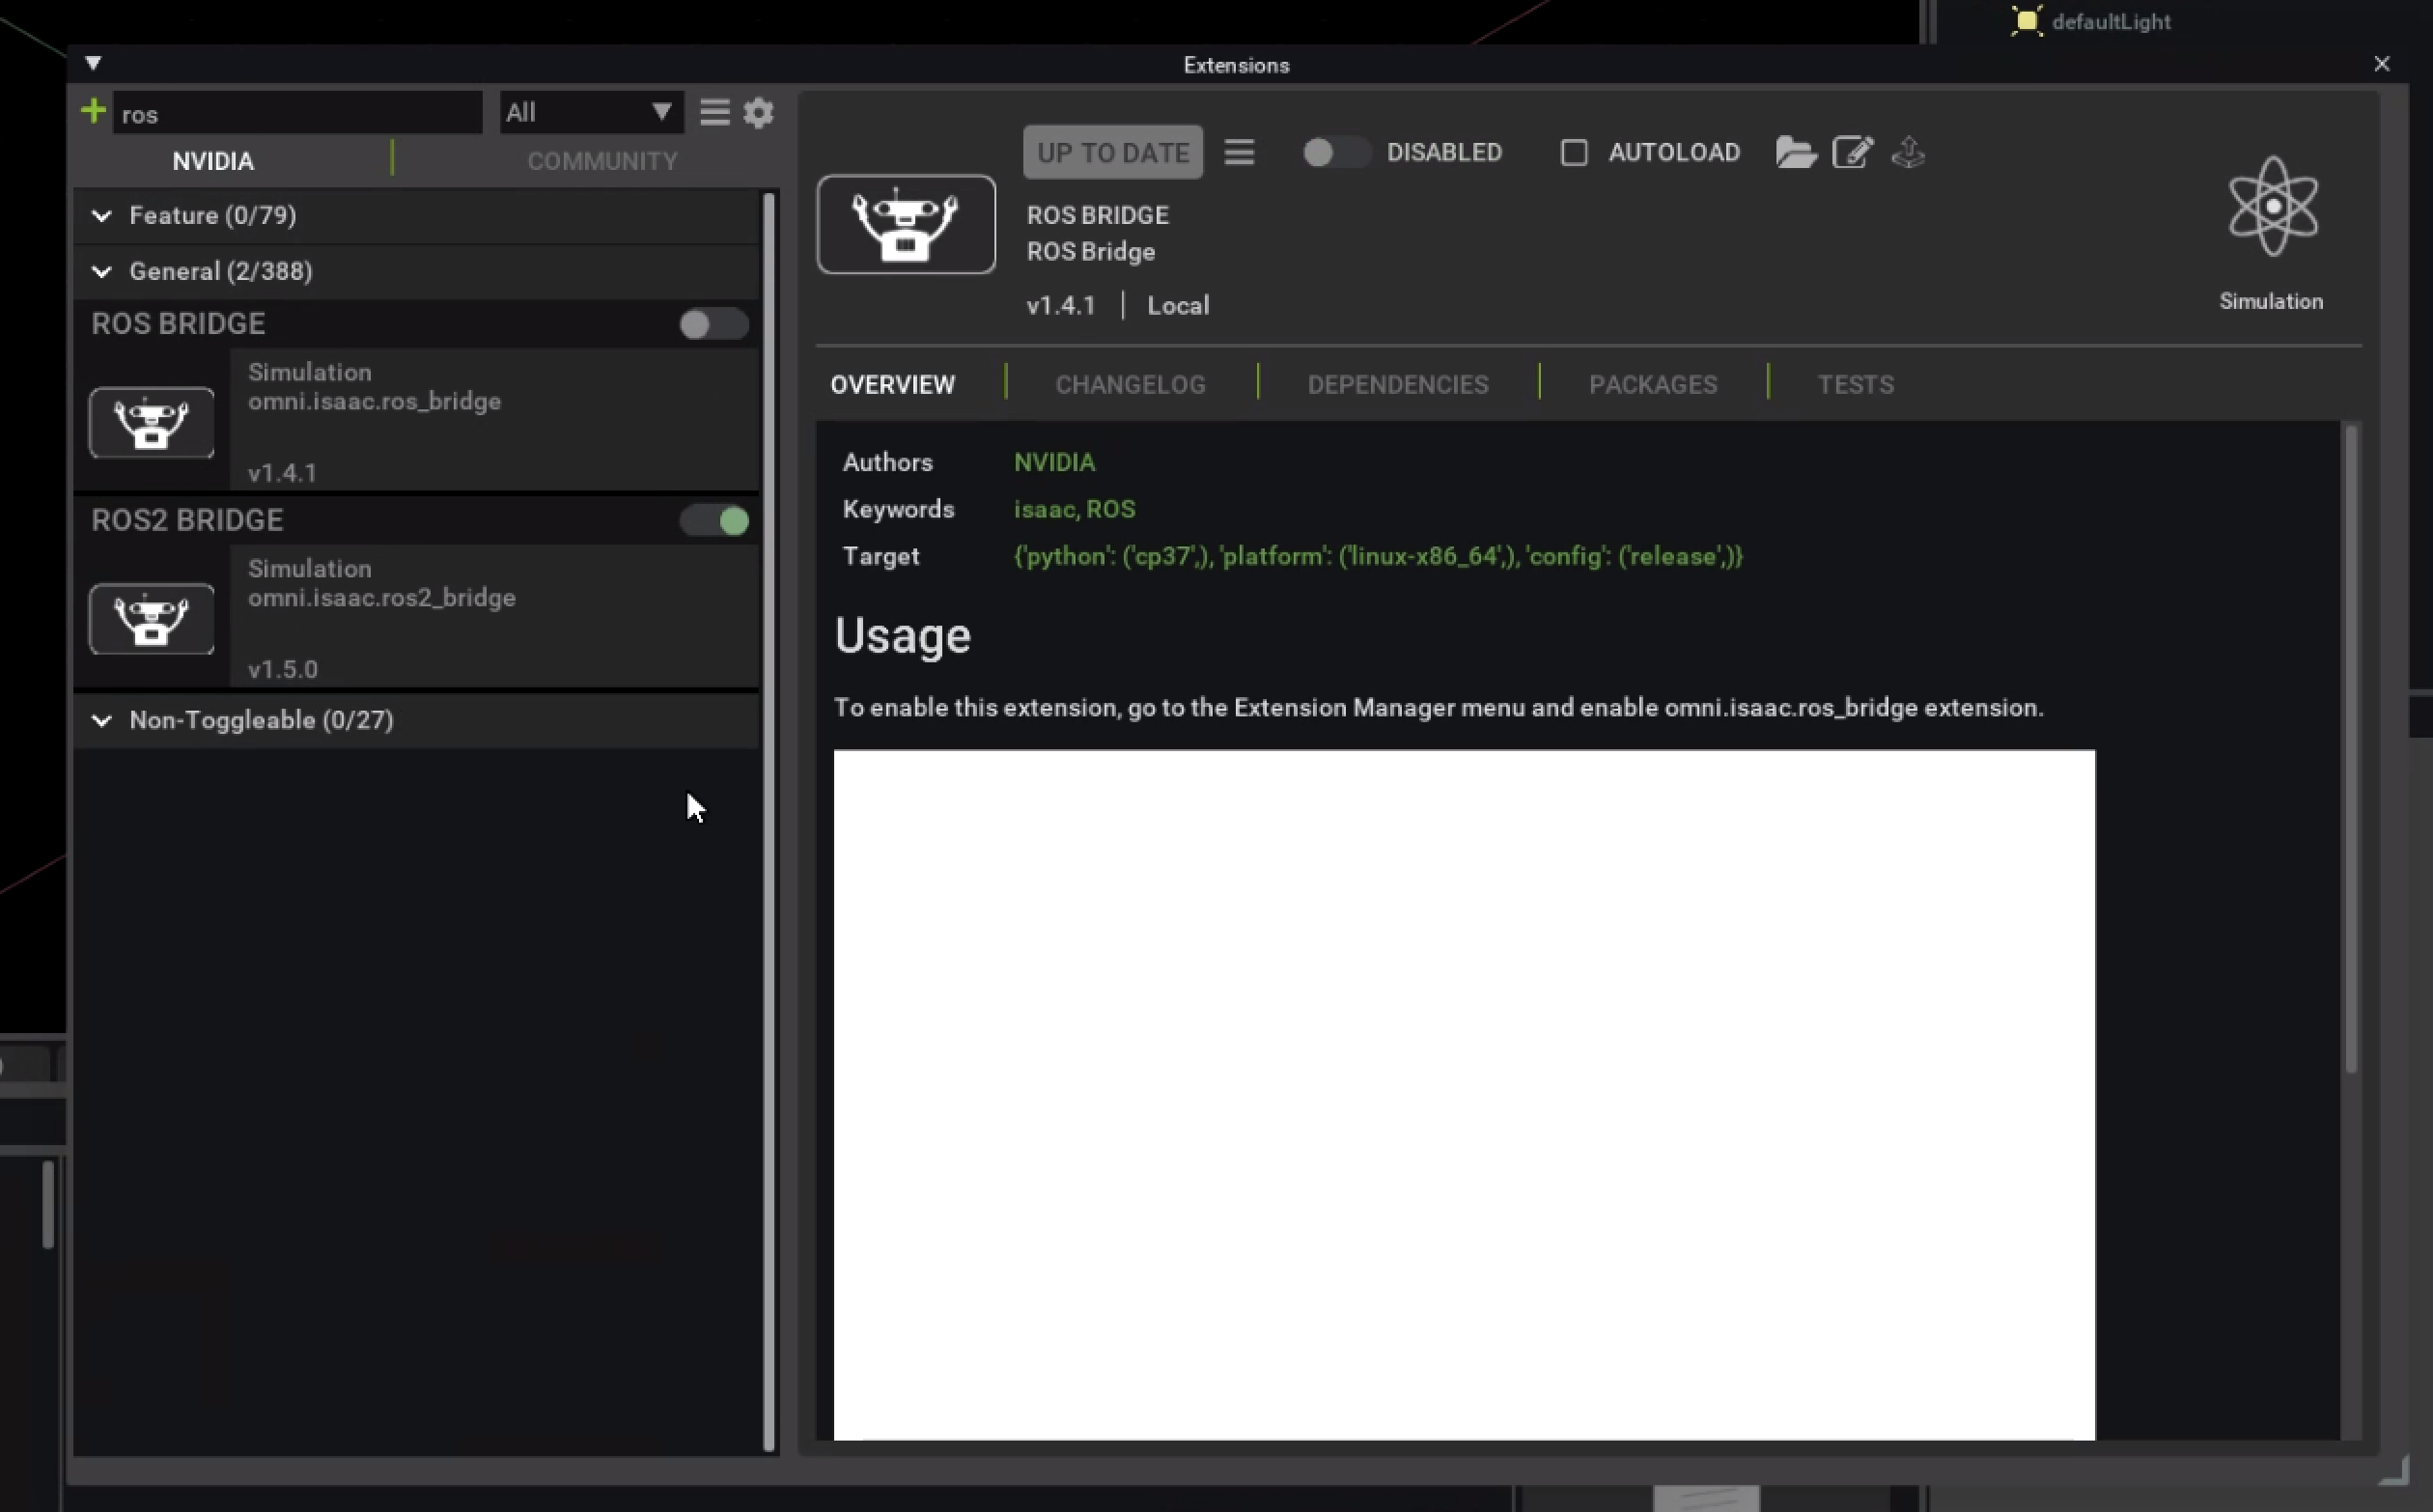
and search for ROS
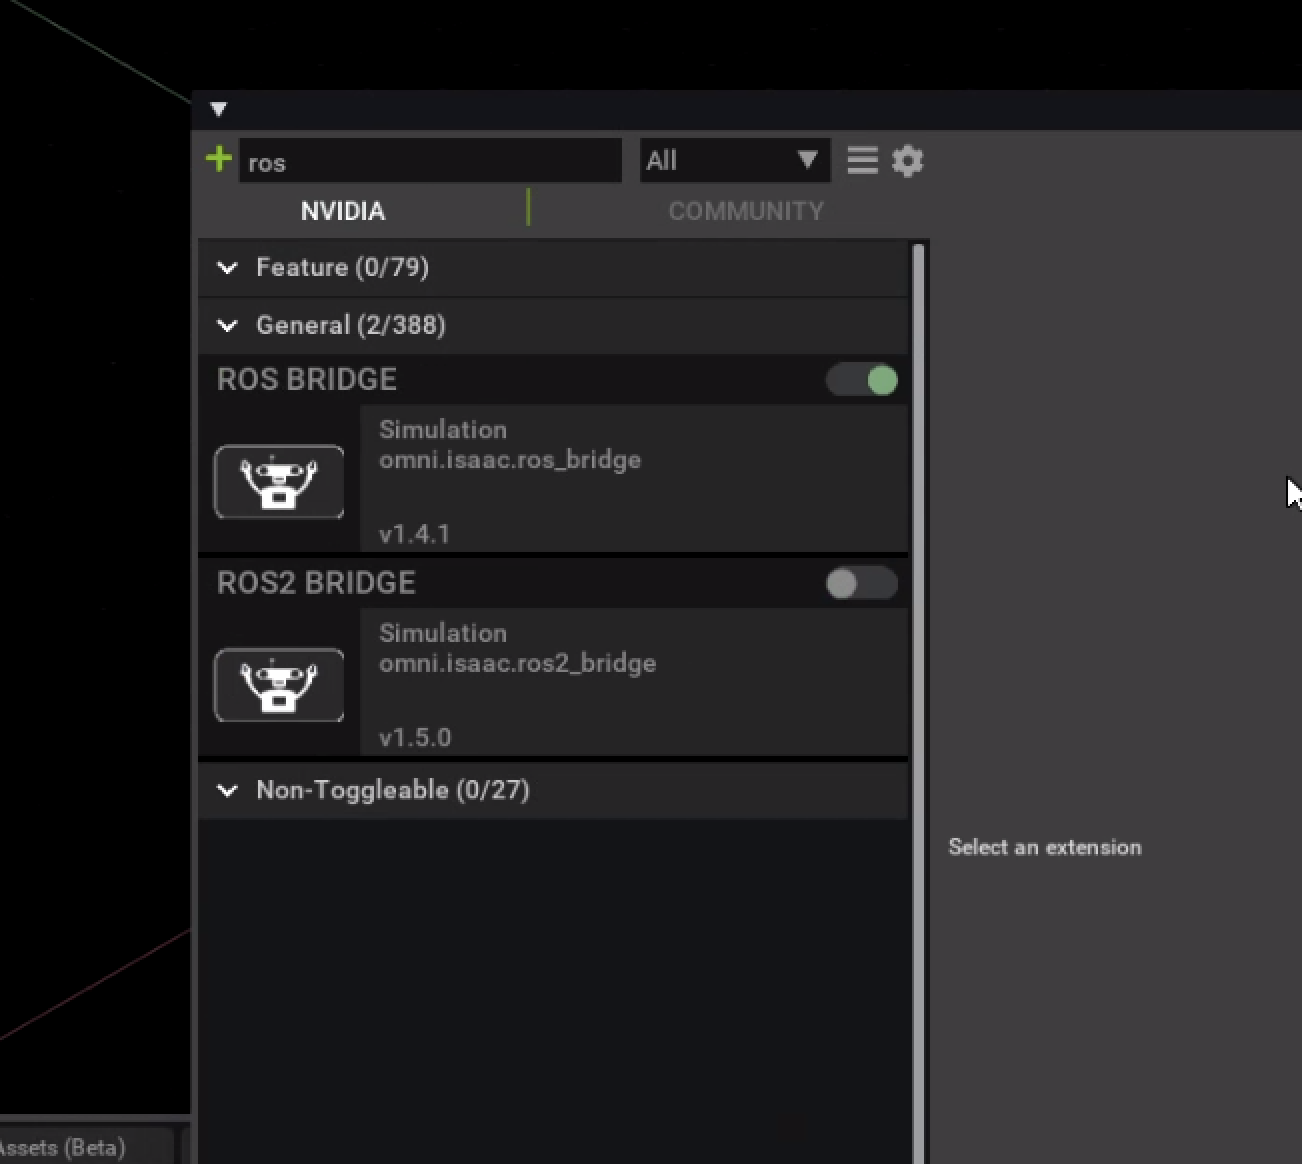
and then enable ROS 2
